Emacs:使用 org publish 生成博客
Org includes a publishing management system that allows you to configure automatic HTML conversion of projects composed of interlinked Org files. You can also configure Org to automatically upload your exported HTML pages and related attachments, such as images and source code files, to a web server.
Org 自带了一个文档发布系统,可以将 org 文件生成为静态的 HTML 文件。我通常使用 org-mode 管理笔记,根据需要写博文。
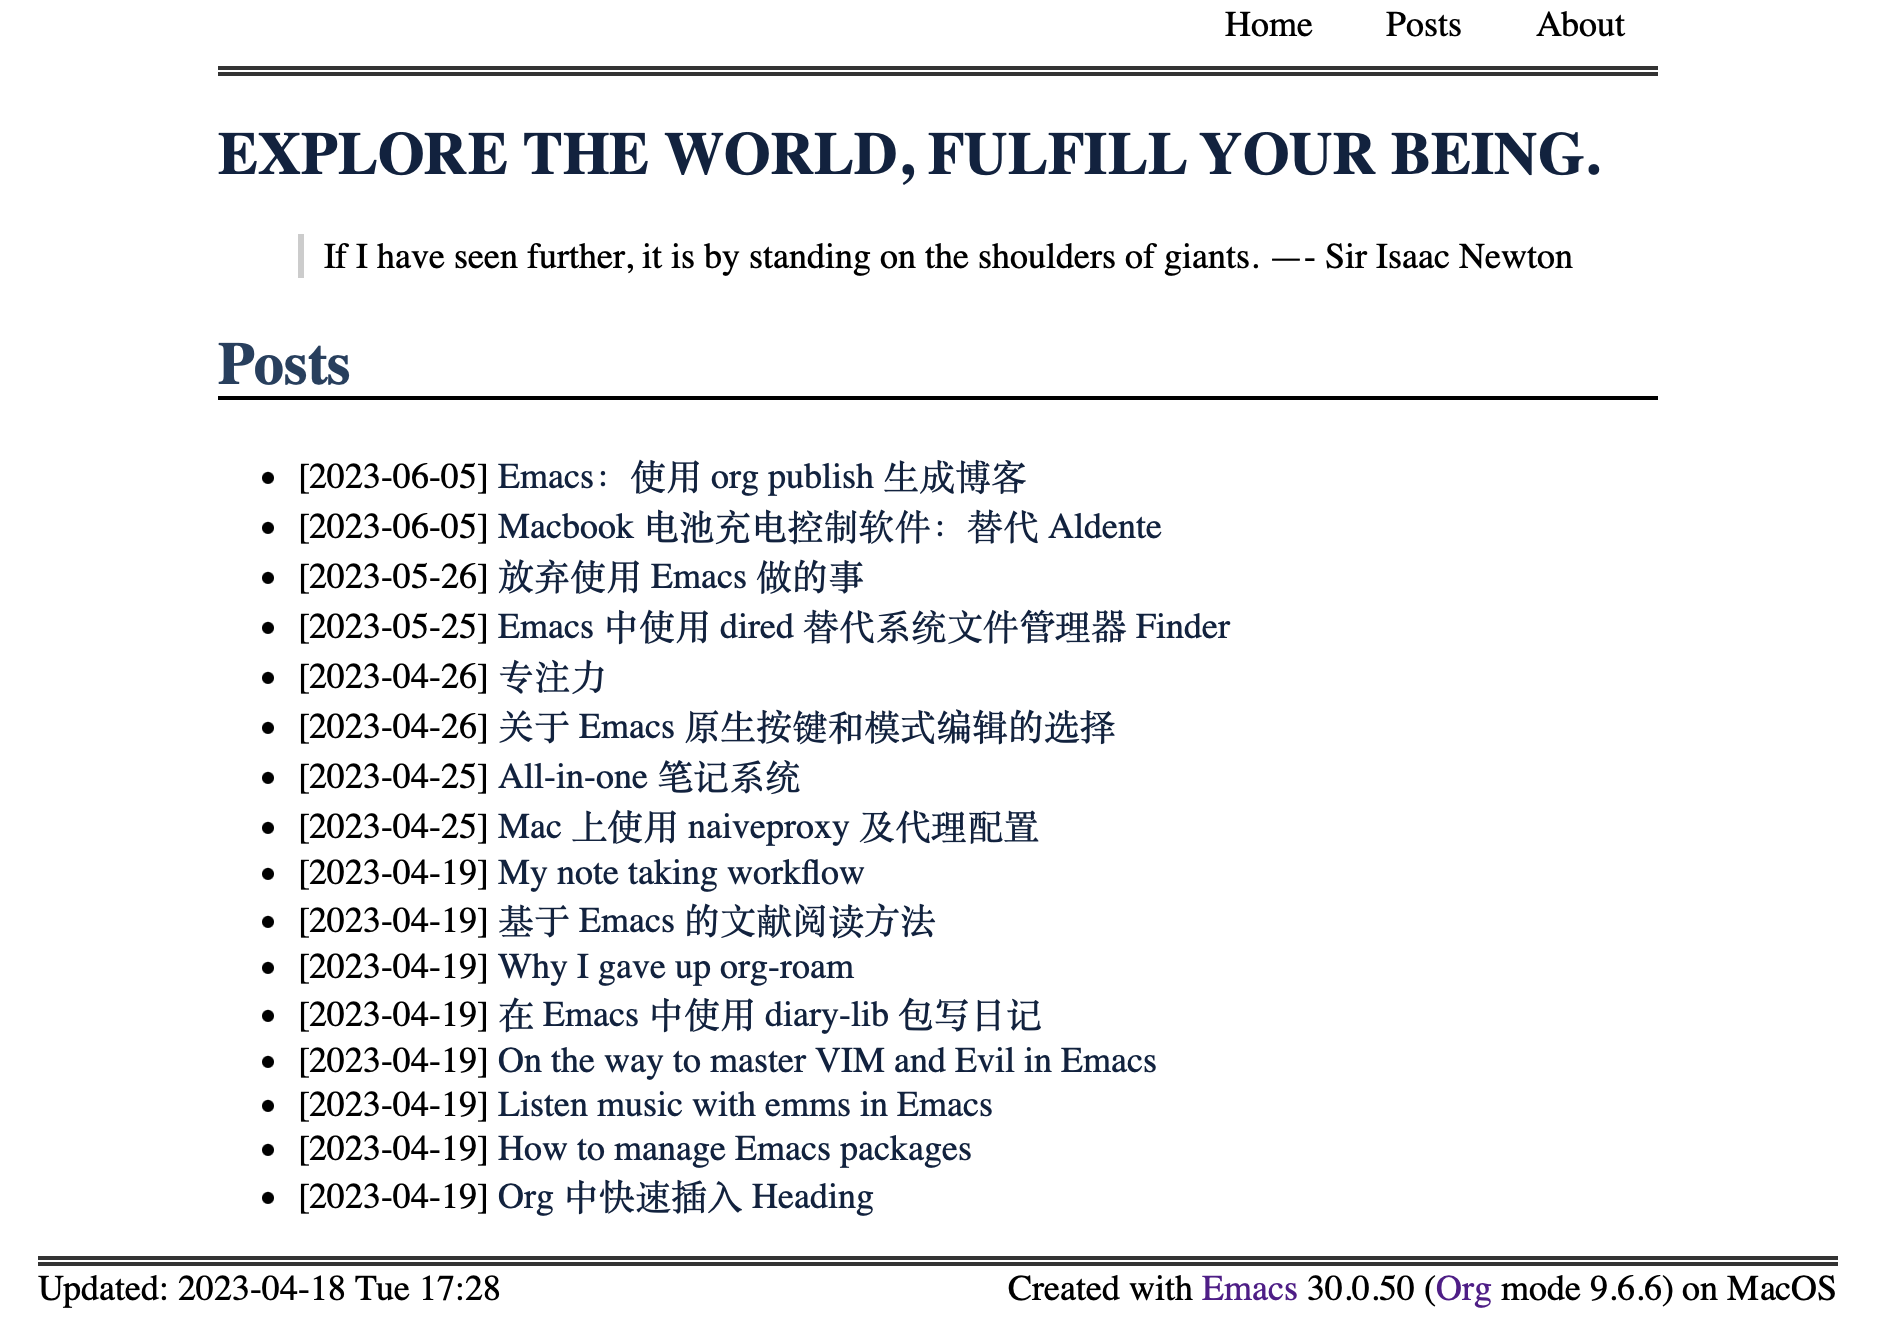
此文关于我如何使用 Org Publish 生成博客。当然,Emacs 是自由的,生成博客不仅仅只有这一种方法,更常用的是 HUGO,个人觉得相比较 Org Publish 更好用一些。我不用的原因是我没有找到合适的 HUGO 主题,虽然 HUGO 的主题很多,但是我不是很了解主题的制作,在别人的主题更改也显得较麻烦,而使用 Org Publish 我只需要写简单的 CSS 文件就可以生成很简洁的博客主题。
写博客前,首先需要有一个网站用来放置生成的 HTML 文件。可以购买 VPS,也可以使用 Github 免费提供的 Github pages 来写博客。
使用 Github pages,只要在 Github 上创建一个仓库存放 HTML 静态文件,仓库文件名需要是 xxx.github.io 的形式,更多关于 Github pages 的使用参见官方文档。
我的博客文档结构如下:
├── about.html
├── css
│   └── style.css
├── index.html
├── js
│   └── copy.js
├── posts
│   ├── Emacs:使用 org publish 生成博客.html
└── static
    └── 20230215110837screenshot.png
其中 posts 文件夹下是所有的 html 文件,static 文件夹中是所有博文中的图片文件,css 是博客网页的样式。about.html 放个人的简历也是不错的。
Emacs 中使用 Org Publish 生成博客相关的配置内容如下:
(use-package ox-publish
    :after ox
    :config
    (defvar my/publish-directory "~/Blogs/")
    (defvar website-directory (expand-file-name "blogs_source" my-galaxy)
    "The source folder of my blog.")
    (setq org-publish-project-alist
          `(("site"
             :base-directory ,website-directory
             :base-extension "org"
             :recursive nil
             :publishing-directory ,my/publish-directory
             :publishing-function org-html-publish-to-html)

            ("posts"
             :base-directory ,(expand-file-name "posts" website-directory)
             :base-extension "org"
             :publishing-directory ,(expand-file-name "posts" my/publish-directory)
             :publishing-function org-html-publish-to-html
             :with-author t
             :auto-sitemap t
             :sitemap-filename "index.org"
             :sitemap-title "posts"
             :sitemap-sort-files anti-chronologically)

            ("static"
             :base-directory ,website-directory
             :base-extension "css\\|js\\|txt\\|jpg\\|gif\\|png"
             :recursive t
             :publishing-directory  ,my/publish-directory
             :publishing-function org-publish-attachment)

            ("personal-website" :components ("site" "posts" "static")))))
其中 website-directory 是博文 Org 源文件所处的位置, my/publish-directory 是 org 文件生成的 HTML 文件所处的位置。
当写完一篇文章之后需要手动调用 org-export-dispatch 选择 p f ,将当前 org 文档生成 HTML 网页文件。一个简单的网页就生成了,可以使用浏览器打开此 HTML 文件进行预览,也可以使用 Simple-Httpd 这个插件在 website-directory 文件下启动一个 server,之后在浏览器中打开 127.0.0.1:8080 就可以查看生成的博客内容啦。
下面解决两个问题,一个是每次文章都需要自己手动调用相关命令生成 HTML 文件,一个是没有 CSS 的加持,默认的 HTML 网页不好看。
解决第一点,可以通过在文档头部添加关键字使 org-publish 自动执行。
(with-eval-after-load 'org
  (add-to-list 'org-options-keywords "AUTO_EXPORT:"))

(defun auto-export-blog ()
  "Auto export blog."
  (when (derived-mode-p 'org-mode)
    (save-excursion
      (goto-char 0)
      (if (string-equal (car
                         (cdr
                          (car
                           (org-collect-keywords '("AUTO_EXPORT")))))
                        "t")
          (org-publish-all)))))

(add-hook 'after-save-hook 'auto-export-blog)
每次创建文章都需要手动加上关键字也很烦,可以通过调用模版自动的生成头部文件。我通过下面的命令来创建新的博文。调用 my/new-article 会在 website-directory 文件夹中的 posts 文件夹下生成指定标题的博文。
(defun my/new-article (article)
    (interactive "sTitle: ")
    (let ((filename (format "%s" article))
          (ext ".org"))
      (find-file (concat website-directory "posts/" filename ext))
      (insert "#+TITLE: " article "\n")
      (tempel-insert 'blog)))
我使用的是 temple 插件,my/new-article 调用的模板 blog 内容如下:
(blog
 "#+DESCRIPTION: " p n>
 "#+DATE: " n>
 "#+AUTHOR: Jousimies" n>
 "#+AUTO_EXPORT: t" n)
以上解决了创建博文需要进行的操作,我仅需要输入博文标题即可,模版中的 Description 通常我都懒的写。
HTML 有无 CSS 加持说成了两个不一样的东西,一个简单的 CSS 配置,可根据自己的需要进行简单的修改。当前需要学一点点 CSS 的知识,当然不知道也没事,搜索想要达成的结果,网络上可用资源还是很多的。
@import url("https://fonts.googleapis.com/css2?family=Lora:wght@500&display=swap");
@import url("https://fonts.googleapis.com/css2?family=Inconsolata&display=swap");

body {
    margin: 10px auto;
    width: 900px;
    max-width: 100%;
    background: white;
    font-size: 18px;
}

#preamble {
    width: 80%;
    max-width: 980px;
    text-align: right;
    margin: auto;
}

hr {
    border: none;
    border-top: 5px double #333;
    margin: 0px 0;
}

.button {
    border: none;
    color: black;
    padding: 6px 14px;
    text-align: center;
    text-decoration: none;
    display: inline-block;
    margin: 4px 2px;
    transition-duration: 0.4s;
    cursor: pointer;
}

#content, .content {
    width: 80%;
    max-width: 980px;
    margin: auto;
}

#table-of-contents {
    margin-top: 105px;
    font-size: 12pt;
    position: fixed;
    left: 0em;
    top: 0em;
    background: white;
    max-height: 80%;
    overflow: auto;
}

.title {
    font-size: 30px;
    line-height: 1.3;
    font-weight: bold;
    color: #0c2340;
}

a:link {
    color: #0c2340;
}

a:hover {
    font-weight: bold;
    text-decoration: underline;
    color: blue;
}

.figure {
    text-align: center;
}

img {
  width: 600px;
}

@media screen and (max-width: 1200px) {
    img {
        width: 400px;
    }
}

.org-src-container {
    font-size: 14px;
    outline: 2px dashed #ccc;
    outline-offset: 10px;
    position: relative;
}

code {
    font-size: 16px;
    color: #4F894C;
}

.subtitle {
    text-align: right;
}

blockquote {
    border-left: 3px solid #ccc;
    padding-left: 10px; /* Optional: add some left padding for the content */
}

.info {
    overflow: hidden;
}

.created {
    float: right;
}

.updated {
    float: left;
}

.org-ol {
    list-style-type: decimal; /* Set the list style type to decimal numbers */
    margin-left: 1.5em; /* Add left margin to the list */
}

b {
    color: red;
}
